
This is a quick fun craft that is great for a gift. Pictures can be used but also paper, designs, drawings.... there are so many possibilities!!
- Items you need

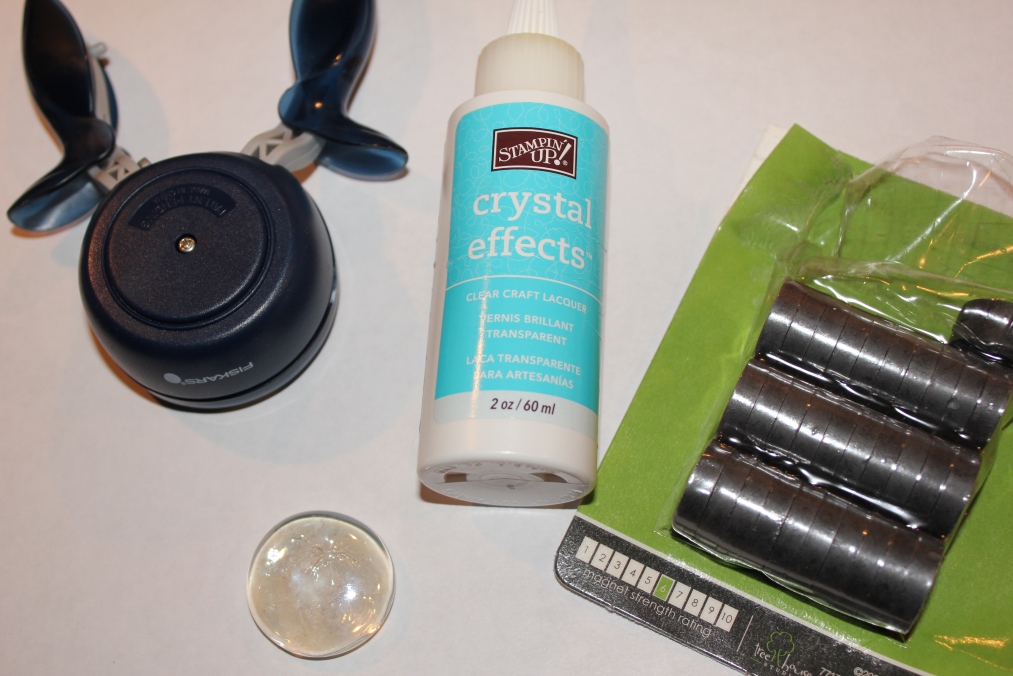
- 1 1/4 inch flat clear circular beads (I bought mine from Hobby Lobby in the wedding section.)
- any clear all purpose glue (Crystal Effects from Stampin' Up works great. The glue will make the picture more visible when it actually adheres to the gem.)
- 1 1/4 inch circular punch
- magnets (I used magnet 6 strength~ it was strong enough to hold paper on the a frig but is on the thicker side. You can also use cut sheets of magnetic paper but it won't be able to hold anything.)
- Pictures/paper/design or anything you want to show threw the bead
Second, put a SMALL amount of Crystal Effects on FRONT of picture (or any other clear glue that you may find to work.)
Third, firmly press image on back side of clear bead and hold for several seconds. It's best to let it dry completely before next step.
Fourth, put a small amount of Crystal Effect on BACK side of picture.
Next, press magnet where you just placed glue and hold firmly for several second. Let dry overnight. (Keep checking bead as they may start to slip before glue is dry completely, you may have to recenter.)
The picture below is what I made for myself and the kids' grandparents...

The
picture below is what I made in a stamping class the first time ever
doing this craft and it was actually just a small part of bigger
project... maybe one day I'll post the entire thing! The background is
just paper punched out!

Hope you enjoyed this!
Until next craft...


No comments:
Post a Comment
Thank you for taking the time to comment