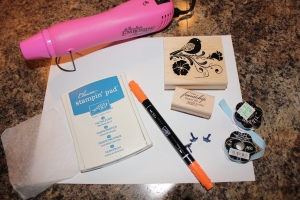
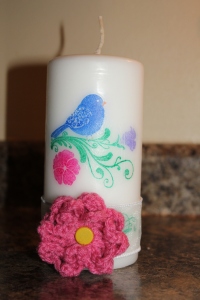
This was a similar project to what Photo Jewels had done at the beginning of the week. I enjoy doing this with plain candles because then I can personalize them to my own liking. All I did for this was take a cheap plain white candle that I picked up at Wal-Mart took some plain red tissue paper that I had left over from Christmas and used my heat gun from my old painting days.
This was actually a candle that I had done for Valentines Day but with candle week coming up I waited to post till now. So this was really easy to do and pretty quick. I cut out a couple hearts from the red tissue paper. I cut them free-handed so there would be a slight difference between the candle.
After I cut out my hearts I took a couple drops of water and slightly dampened the back of the tissue paper so it would stick on to the candle until i could get the heat on it. After I positioned the heart on the candle I took my heat gun and on the lowest setting possible. I have a heavy duty heat gun which is a little more intense then the one i should have for this project. I learned that you should just quickly fan over over it slightly then pull away for a min so that the candle doesn't bubble up. Do this a few times until your tissue paper is fully covered by wax.
I think this makes for a great effect on decorating candles. You can use spice leaves for your kitchen candles. This is something I will do for Husband once his fresh spices grow in.
Another thing you can do to decorate your candles if you don't plan on burning them is to use glitter. If you are like me and love alot of sparkly and things that are a little on the blingy side this is a cute idea.
 Just recently I found a candle that had a really long wick on it and thought it was kinda nifty. This candle with out burning it has a strong aroma and so decided for the time being to keep it the way it is. I had found one of these bead pieces and tied it on their as to add just a touch of decoration. I think it looks nice.
 Remember tomorrow is the last day you can sign up for the Mystery Candle Giveaway. Click on the link below will take you to the giveaway page to get the details on how to enter.


